Loving this little camera!
I'm not one to do camera reviews but I had to say something about this little camera!
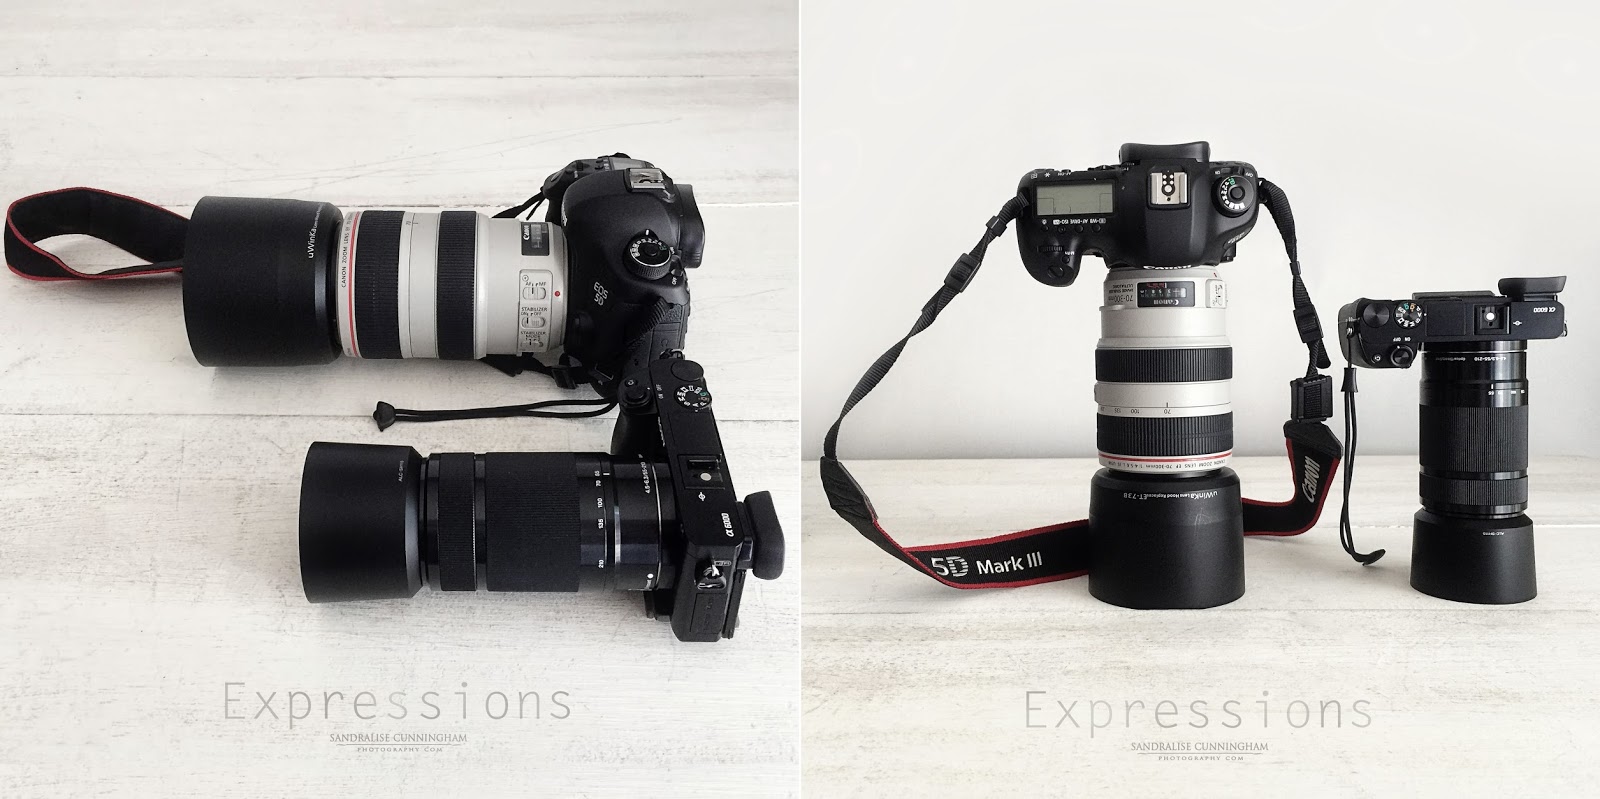
Recently I purchased the Sony A6000 with the 16-50mm Lens and also the E 55-210 mm f/4.5-6.3 oss E-mount Lens and I just love it! I found my Canon 5D just to heavy for outdoors with a telephoto lens(getting old I guess, the old arms can't hold the weight like in my youthful days) ;) I will still use my beloved Canon 5d Mark lll at home in studio but for outdoors and walk about camera this will be my new camera.
Just to show the difference in size with my Canon 5D Mark lll and the Sony A6000 both having a telephoto lens attached. I love a telephoto lens outdoors, very versatile for me but was very heavy...now this camera and lens solves the problem!
You also can buy an adapter to be able to use all your Canon,Nikon, and other lenses, if you wish, so quite versatile. :)
Loving it a lot!
I'm not one to do camera reviews but I had to say something about this little camera!
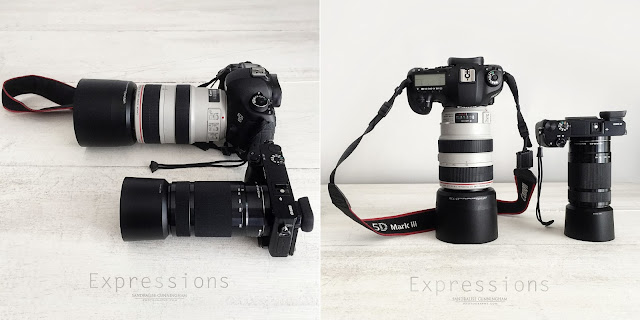
Recently I purchased the Sony A6000 with the 16-50mm Lens and also the E 55-210 mm f/4.5-6.3 oss E-mount Lens and I just love it! I found my Canon 5D just to heavy for outdoors with a telephoto lens(getting old I guess, the old arms can't hold the weight like in my youthful days) ;) I will still use my beloved Canon 5d Mark lll at home in studio but for outdoors and walk about camera this will be my new camera.
Just to show the difference in size with my Canon 5D Mark lll and the Sony A6000 both having a telephoto lens attached. I love a telephoto lens outdoors, very versatile for me but was very heavy...now this camera and lens solves the problem!
You also can buy an adapter to be able to use all your Canon,Nikon, and other lenses, if you wish, so quite versatile. :)
Loving it a lot!