
I'm often get ask what kind of surfaces I shoot on or against and thought I would show some of the "Fake" wood floors I have. When I say "Fake" I mean the illusion of a wood floor or wall. I use real wood but distress the wood to look old by using a "Dry Brush Effect". Here is some work for that "Look" from my gallery in a past life(just over 15 years before going full-time as a photographer) as a Decorative Painter!
It doesn't take large pieces of wood to create the look of a floor or wall and it's not hard to put them together. I prefer pine because it's easier to work with so all you have to do is purchase 4 of or 5 pieces and assemble then with smaller strips in back with screws(I like to use drywall screws). You can also use stain to darken the wood then distress to give an antique, well worn look for image themes!
 I also use both sides and it's very economical.You can create two different wood surfaces in totally different color tones and techniques! It is limitless what you can create and it can help you be very creative in your future image shoots. Here is another image showing what I mean:
 I hope this gives you ideas to create some panels and wood surfaces of your own!
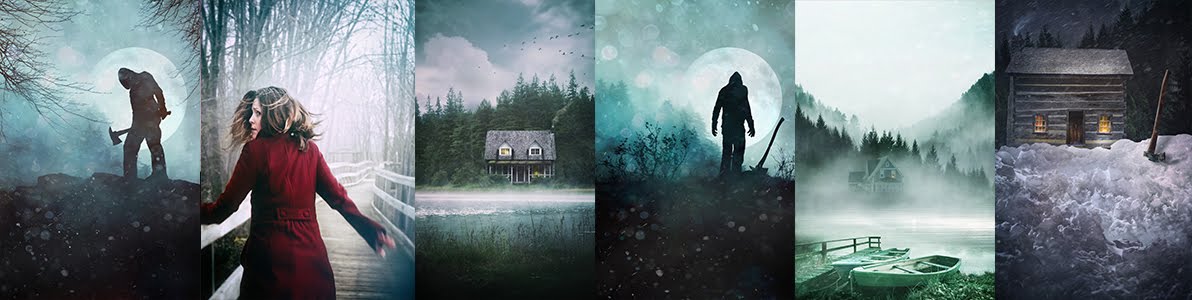
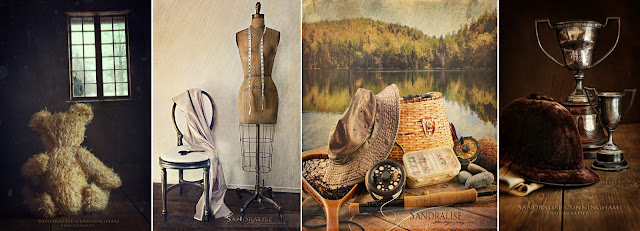
Here are some images using these wood creations:

It doesn't take large pieces of wood to create the look of a floor or wall and it's not hard to put them together. I prefer pine because it's easier to work with so all you have to do is purchase 4 of or 5 pieces and assemble then with smaller strips in back with screws(I like to use drywall screws). You can also use stain to darken the wood then distress to give an antique, well worn look for image themes!


Here are some images using these wood creations:


