bloger image

bloger image

Wednesday, August 17, 2016

Loving this little camera! 

I'm not one to do camera reviews but I had to say something about this little camera!
Recently I purchased the Sony A6000
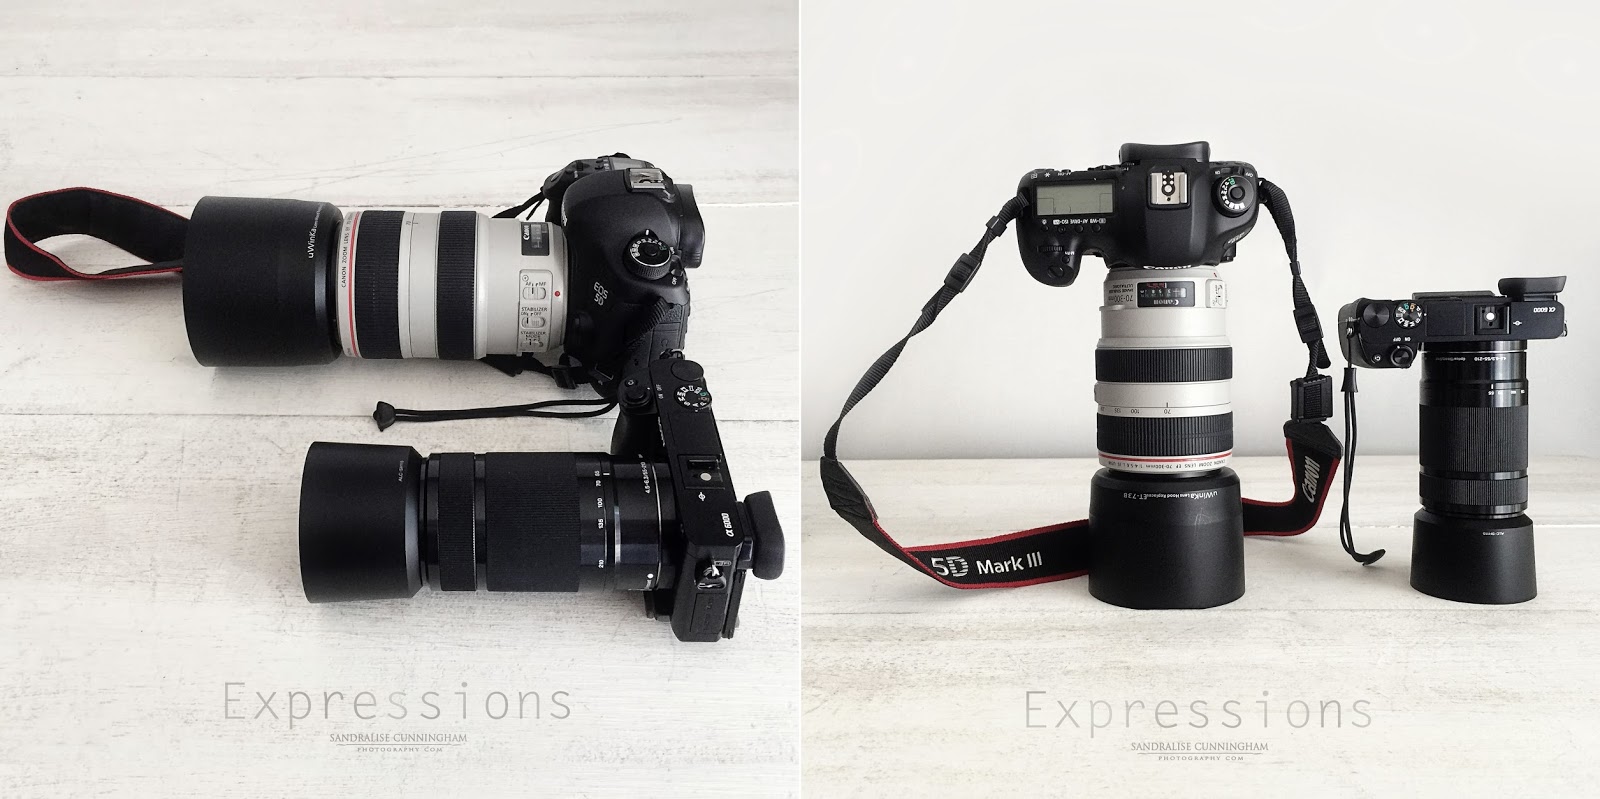
with the 16-50mm Lens and also the E 55-210 mm f/4.5-6.3 oss E-mount Lens and I just love it! I found my Canon 5D just to heavy for outdoors with a telephoto lens(getting old I guess, the old arms can't hold the weight like in my youthful days) ;) I will still use my beloved Canon 5d Mark lll at home in studio but for outdoors and walk about camera this will be my new camera.
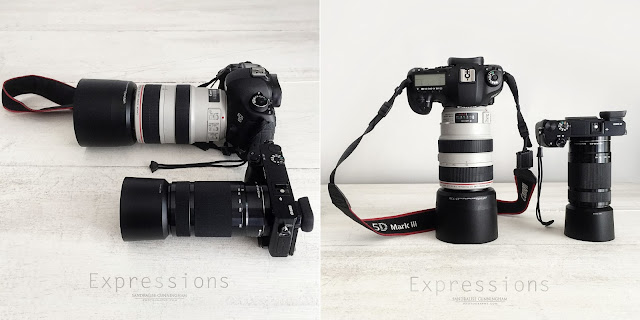
Just to show the difference in size with my Canon 5D Mark lll and the Sony A6000 both having a telephoto lens attached. I love a telephoto lens outdoors, very versatile for me but was very heavy...now this camera and lens solves the problem!
You also can buy an adapter to be able to use all your Canon,Nikon, and other lenses, if you wish, so quite versatile. :)
Loving it a lot!
Thursday, August 27, 2015

ANOTHER BEFORE AND AFTER! 
           
It's been a while since I have done another "before and after" and since I did this fun shoot last week I thought I would share this one! 
Here is the original image:

First off, I erased the string from the flying bird(duh)...we don't want that there, right! We want to make it as realistic as possible! ;)
Then I added a
starry night sky as a layer for the background set to "screen" and then erased where I didn't need it to show(mostly over the bird and T-Rex). When I was happy with the look I flattened it and put the image through OnOne Perfect Effects to get a little more punch and here is how it turned out.

I did a few variations...on the 3rd and 4th image I also added a bokeh effect light layer I affectionately call my "bubble effect". I also added a motion blur to the 3rd image.
Toy animals are a fun way to experiment and create fun fanciful worlds...they let the child in you get out and have fun sometimes!! :)


Monday, September 15, 2014

ANOTHER DAY INTO NIGHT! (BEFORE AND AFTER BUT WITH SNOW)

I thought I would share another image that was daytime originally and turn it into a snowy winter night scene. The image is a composite of three images. The technique I used is very similar to a previous image I did here:

Plugin I used is Perfect Effects from onOne Software...it's a great tool for creating special effects for you images. I also added a snow effect in the last image to give it a cold snowy winter effect!
Just a little tip: I keep all my snow and rain filter effects in a PNG. form...then it's so easy to drop them in when working in Photoshop. :)
Here is a Before and After of the image:


Wednesday, September 03, 2014

HOW TO CREATE DIFFERENT SPACES AND MOODS IN THE SAME STUDIO!


I love where I live but it is a modern condo and even though it's windows and rooms are great for a contemporary look I use in my images sometimes  it can't give me a rustic look I love and look for sometimes!
I don't have old looking windows with character but I have found a solution...I purchased a fake window and placed in my back door studio!  It is perfect for still life shots that don't require a lot of room. Here are some shots of the faux window and how it was used in my work! 


I often shoot my bedroom which has a more modern feeling and look...it works very well for certain  shoots I do but my heart and favorite mood and look is the rustic country life! :)
I did a shoot yesterday and created a fake bed in my studio...
it offered me a little more of a country shabby chic look and feeling...I like the way they came out and I think I will try it more often!! 

Hope this gives you some fun and interesting ideas to try. Have fun!! :)


Tuesday, June 10, 2014

LATEST IMAGES FOR SUMMER!!

So much fun to create!
I thought I'd share some of my latest SUMMER IMAGES that are available now online!
Wishing everyone a safe and happy summer! :)
Images are available for download at Shutterstock, Depositphoto, Fotolia, Dreamstime, Stockfresh.There are more links located on left side.


Saturday, October 19, 2013

DOORS, FLOORS AND PHOTOGRAPHY PROPS!
ANOTHER BEFORE AND AFTER


I haven't touched my blog in a while...sorry for that but it has been a busy summer and it seems it went by so fast! It's a good thing I love the change of the seasons and just love Autumn!
Recent changes in my photography direction has led me to seeking more vintage and antique props. It has brought me back to really appreciating objects of long ago when times were more simpler and slowed down...when things weren't thrown out but were repaired and used again. 

My quest for all things vintage led me to watching Canadian Pickers on the History channel and by chance they had come to my neck of the woods in Saint-Joseph-du-lac! What a nice surprise to know how close I was to this great Antique Shop(La Maison Théoret)and so close to me!! Last weekend with the help of my brother and the owners Paul and Armand (bringing everything back and up the stairs) I purchased 2 great doors, a window and 3 fantastic chairs full of vintage charm!! They really give the look of a quaint country kitchen without leaving my studio! The doors have an added bonus because both sides have a different look...that means it gives me 4 doors instead of 2. :)
Here is what my studio looked like set up just before the shoot. It worked very well in the small space I have and when finished everything can be placed against the wall for future shoots. I have lots of ideas for shoots in the future and can't wait to get started, lol!
Here are some images of the shoot...edited in PS and onOne Software. Happy prop hunting everyone! :)


Friday, March 01, 2013


In response to the image I posted on FB this week I decided to show the "BEFORE and AFTER" trying to show you the steps involved to the final stage! Here is the original image...it's not a bad image and certainly does serve a purpose...it leaves plenty of copy space for advertising but I wanted to create something more that told a bit of a story!
 

I created a mask layer for this image then inserted my cloud image (back of boots) in a "hard light" layer and played around with the intensity till I got it just right. I then created another layer with the second image inserting in front of the cloud image...erasing (set around 30 to 40 % opacity) some of the image at the top and bottom ...again putting it in "hard light" and adjusting the intensity.


After tweaking each layer to get the best fit and the right intensity I flattened the image and opened  onOne software Perfect Effects 4  and passed it through the Vintage filter (vintage cool) and played with the opacity...did a little sharpening and that is about it.
Here is the final Image! :)


Saturday, December 15, 2012


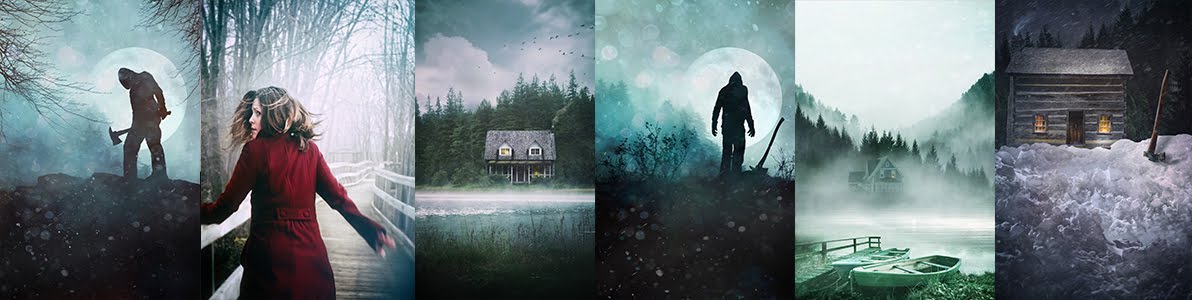
BOOK COVERS FOR 2012!

Very pleased so far as this is my first year creating imagery for
the book cover Industry. Here is to 2013!
Thank you Arcangel in helping me achieve this for 2012 :)
http://tinyurl.com/8u4avus


Friday, November 09, 2012

FUN WITH POTTED ROOTS!


Winter is almost upon us...time to prepare and protect summer furniture, cut down the last of summer's flowers that have died and are brown and maybe if it's not too cold start putting outdoor decorations for the Holidays!
These are some of this week's projects to do and as always my two great sons Chris and Nick are always there to give a helping hand(actually they do most of the work), lol! :)
Some of my plants had over grown their pots and were very hard to remove. The one good thing that happened to my amazement was the incredible design of the roots against the sides of the pots and I had to take photos of them! I did various shots with different lenses...my EF 100mm f/2.8 Macro USM and  my favorite Lensbaby with Sweet 35 for a distorted creepy look. Here is what the roots looked like unedited:

I then stuck some small doll heads in the earth for later photo manipulations. Here is an idea of the layout in Photoshop and the images used for the final image! The doll heads were cut and pasted in an overlay or luminosity layer...I used my favorite program OnOne Software Perfect Effects4 and finally added a couple of textures to give it a grungy vignette.
I know it's a little spooky, creepy but sometimes it's just fun to go and play on the dark side! ;)


Here are some final images of creepiness, lol! Have fun going to the dark side yourself...you may like it!! ;)


Saturday, October 27, 2012

ANOTHER BEFORE AND AFTER!


Some people have been emailing me and wondering when I will add something new to my blog!
I have been quite busy as of lately trying to establish some new markets for my work so I've been neglecting it a little lately but I"m very glad to know that people find the blog interesting, Lol! :)

So, I was editing this image Friday and thought it would make an interesting post because I too was quite surprised how this image turned out!

Here are some Before and After images:

(1) I started out with the first image. It was taken about 3 weeks ago in my favorite secret spot in a forest nearby. I used my Canon 5D but with the Lensbaby Composer Pro and the Sweet 35 Sweet Optic lens. I love the look it gives and is a good base for a "Creepy cabin in the woods effect" 

(2) Then I copied and pasted a cabin image I shot this summer...played around a little with it to make the right size and did a little motion blur also to make the crop fit perfectly in the forest and flattened it! 
(3)I then ran it through OnOne software Perfect Effects to get a red hellish effect I was looking for and because the tree background was quite distorted with the Lensbaby to my amazement it gave this hellish forest fire look which I love! Finally, I put a dark vignette around the image to made it darker at the bottom so there would be plenty of room for text. This image was created for RM book-covers and not for RF stock.

That's it...you just never know how an image will turn out and it's always a surprise for me!
Here is the finished image:


Thursday, June 14, 2012

NOT SO MUCH GOING ON THESE DAYS!!

I guess I'm not the only one that is busy doing so many things now that summer is here like summer activities, vacation etc... I'm trying to keep up with some photo editing this summer but those lazy days of summer can sure get to you, LOL! 
I thought I'd share some of my latest SPA IMAGES that are available now online!
Wishing everyone a safe and happy summer! :)

Images are available for download at Shutterstock, Fotolia, Dreamstime, Stockfresh.There are more links located on left side.

Friday, March 09, 2012

CREATING "FAKE" WOOD FLOORS AND WALLS!

I'm often get ask what kind of surfaces I shoot on or against and thought I would show some of the "Fake" wood floors I have. When I say "Fake" I mean the illusion of a wood floor or wall. I use real wood but distress the wood to look old by using a "Dry Brush Effect". Here is some work for that "Look" from my gallery in a past life(just over 15 years before going full-time as a photographer) as a Decorative Painter!
It doesn't take large pieces of wood to create the look of a floor or wall and it's not hard to put them together. I prefer pine because it's easier to work with so all you have to do is purchase 4 of or 5 pieces and assemble then with smaller strips in back with screws(I like to use drywall screws). You can also use stain to darken the wood then distress to give an antique, well worn look for image themes!
I also use both sides and it's very economical.You can create two different wood surfaces in totally different color tones and techniques! It is limitless what you can create and it can help you be very creative in your future image shoots. Here is another image showing what I mean:
I hope this gives you ideas to create some panels and wood surfaces of your own!
Here are some images using these wood creations:

Wednesday, February 15, 2012

DOLLAR STORE DINOSAUR(Before and after)!!

Here is a brief look at a before and after I did recently of a small dinosaur I purchased at the dollar store. (If anyone is not familiar with this it's a store that only sells items for a dollar). It's cheap and I think it makes a great prop for many different projects!
Here is the original image:


(1) It was shot on some fake grass with a black background. (2) I changed the image from a horizontal image to vertical and added clouds in a luminosity blending mode set at 100%. (3)I then added some mountains above the sky in a soft light blending mode set at 100%. (5) A couple of grungy textures with scratches in an overlay mode set to about 40%.
(4) For fun some bird and tree brushes were added to give movement, depth  and drama to the final image.
And finally a slight radial blur was done at the end to add some quirkiness to the final feeling and look of the image!


That's it and here is the finished Image with two variations! :)


Monday, January 16, 2012

SPRING GARDENING COMPOSITE!

It's been quiet for blogging lately. I have been very busy creating new moody images for RM. I must say it's quite different from creating bright and sunny images.
I'm also trying to do some new images for RF at the same time and find it weird switching from light and cheery to dark and menacing! It's like exploring different sides of your personalities, LOL!
Here is an image I worked on this past weekend and thought I'd show you a little how it was done.

Here is the original image:

Here is a look at the different images I used to achieve the final look of the image.
The grass image was placed towards the lower bottom and the farm with sky was placed on top of the grass and blended into the background.


I did a little dodge and burn on the grass and the earth in the foreground. I also added a few more clouds to make it interesting. That's it and here is the finished Image!! :)

Monday, December 12, 2011

NOT MUCH GOING ON IN BLOGGING!!

Getting ready for the holidays so I haven't been doing updates to my blog lately! I will be posting some great spring ideas in January! Wishing everyone safe Happy Holidays and a fantastic New Year!! :)
Here is the newest and last on this years images! More to come in the new year!


Wednesday, November 09, 2011

DAY INTO NIGHT!! (Before and After)

I just wanted to share this cool effect with you that I found in one of my plug-ins that work with Photoshop CS5!
I'm sure there is a way to do this with just PS but this way is a lot quicker.
It's Perfect Effects 3 from onOne Software. It's a great tool for creating special effects for you images:
onOne Software.com
First, here is a Before and After of the image:


Here is the image in Photo Effects. It's in effects/ movie looks/ day for night. You then can make a few adjustments for a lighter or darker effect!

I then brought the image back to Photoshop for the last tweaking. I drew some small windows, duplicated them 5x in different sizes then cut & pasted  a Christmas tree. I also darkened the tree for a night effect.
For another fun effect I put what looks like tiny lights in the foreground tree into a blending layer mode of "Color Dodge".
Finally, I added a layer of snow to the whole image for a final snowing scene and that's it!! :)


Monday, November 07, 2011

A VINTAGE CHRISTMAS!

There are some images that can make a great Vintage image! You just know when you see them. Even with bright
and vibrant colors I know when an image can be turned into something with a vintage feeling and look.
Here are some images with a before and after vintage look:
I achieve this look with some actions I have in Photoshop but mostly with filters and textures, some I've created and some I've purchased. Try a few of your own images, it's lots of fun!! :)


Wednesday, November 02, 2011

CHRISTMAS COMPOSITE/RECYCLING IMAGES!

I recently did an image for this year's Christmas season that is soon approaching. After uploading it I realized it could have another life or two left in it to create something new!  Here is the original image:
It's nice as it is but I found this image different and fun to do and this is how I created  image no.2.
I masked out the background and enlarged the height of the image to accommodate the new background.

I added an image of red curtains and duplicated the layer for more of a curtain feeling. In the last back layer I then added a red bokeh background and added some sparkle brushes in a separate layer and set the layer to "Color Dodge". That's it and here is the finished Image!! :)
Images are available for download at Shutterstock.com, Fotolia.com and Dreamstime.com.
There are more links located on left side.